Hanging Indent | Word & Google Docs Instructions
A hanging indent is used to indent all lines of a paragraph except the first.
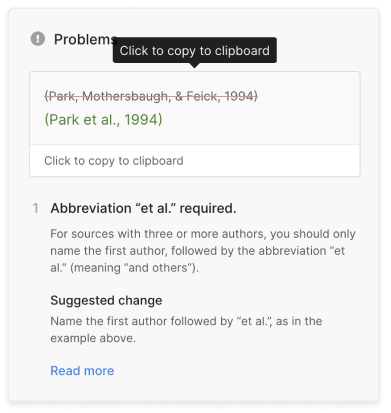
Hanging indents are used in reference lists in APA, MLA, and Chicago style to visually separate reference entries and allow the reader to easily distinguish between sources.
You can create hanging indents using Microsoft Word or Google Docs.
Creating a hanging indent in Microsoft Word
You can create a hanging indent in Microsoft Word for some or all of your text. Instead of indenting each line manually using the “Enter” and “Tab” keys, use the indentation features in Word.
Method 1
This method uses the paragraph settings in Word to set a hanging indent.
Follow these steps:
- Highlight the chosen text. If you have multiple citation entries, press the enter key once after each entry. This ensures that the first line of each entry will begin at the left margin.
- Right-click the highlighted text and select “Paragraph.”
- In the “Indentation” section, open the “Special” drop-down menu and select “Hanging.” Use the “By” feature to adjust the depth of the indent. The standard depth is 0.5 inches (1.27 cm).
- Click “OK.”
Method 2
This method uses the ruler in Word to create a hanging indent. If the ruler is not displayed at the top of your document, click the “View” tab in the ribbon menu and tick the “Ruler” option box.
Then follow these steps:
- Highlight the chosen text. If you have multiple citation entries, press the enter key once after each entry. This ensures that the first line of each entry will begin at the left margin.
- Using the ruler, drag the “First Line Indent” marker (the upper triangular marker) to where you want the first line of each paragraph of the selected text to start (the standard is 1 inch or 2.54cm).
- Drag the “Left Indent” marker (the lower triangular marker) to where you want the second and subsequent lines of the selected paragraphs to start.
For a hanging indent of 0.5 inches (1.27 cm), position the upper triangular marker at the border and drag the lower triangular marker to the first mark after 1 cm.
Creating a hanging indent in Google Docs
You can create a hanging indent in Google Docs for some or all of your text. Instead of indenting each line manually using the “Enter” and “Tab” keys, use the special indentation feature in Google Docs.
Follow these steps:
- Highlight the chosen text. If you have multiple citation entries, press the enter key once after each entry. This ensures that the first line of each entry will begin at the left margin.
- Click the “Format” option in the top menu. Go down to “Align & indent” and select “Indentation options.”
- Open the “Special indent” drop-down menu and select “Hanging.” Adjust the depth of the indent as needed. The standard depth is 0.5 inches (1.27cm).
- Click “Apply.”
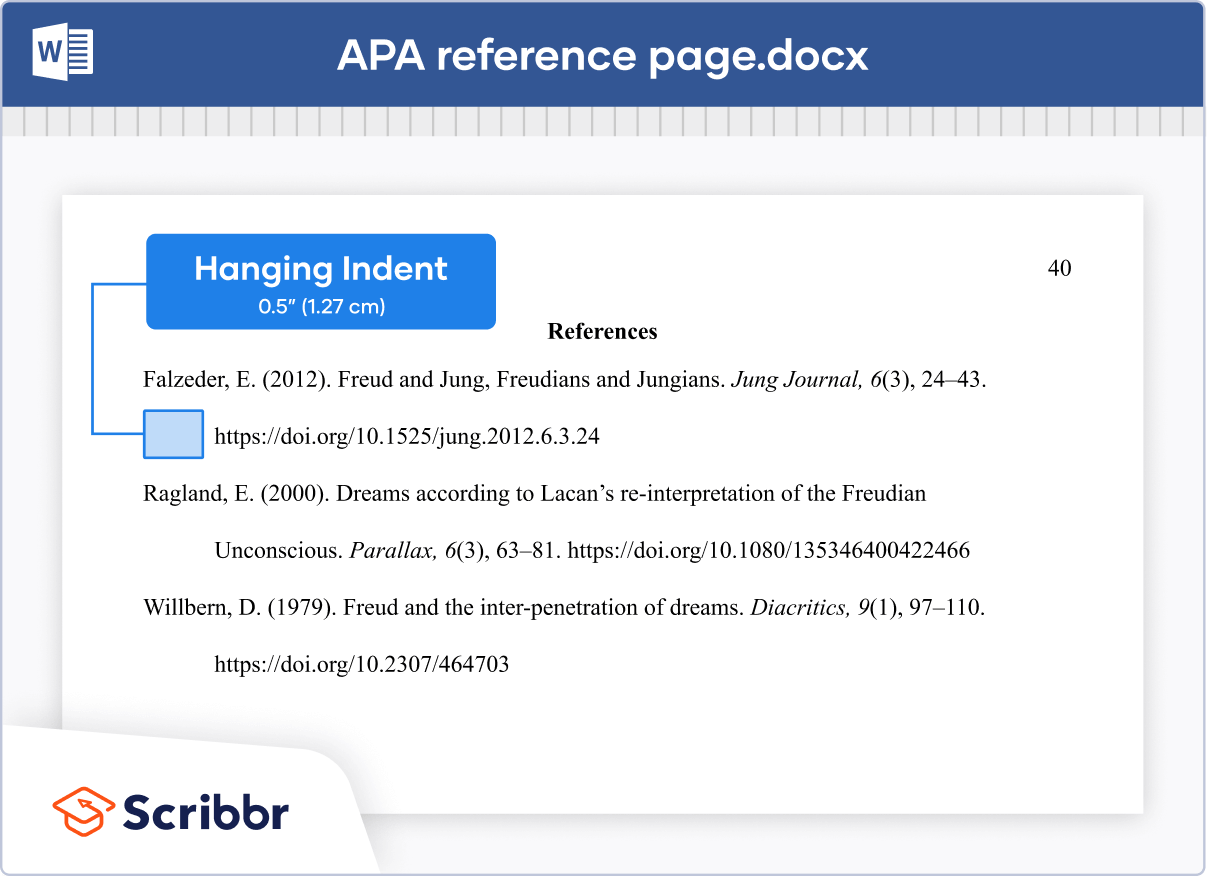
Hanging indents in reference lists
Hanging indents allow the reader to easily distinguish between references and scan for a specific author’s name or the title of a work.
Hanging indents are required in reference lists for many citation styles, including:
The standard depth of a hanging indent in all three of these citation styles is 0.5 inches (1.27 cm).
Frequently asked questions about hanging indents
Cite this Scribbr article
If you want to cite this source, you can copy and paste the citation or click the “Cite this Scribbr article” button to automatically add the citation to our free Citation Generator.
Ryan, E. (2022, June 07). Hanging Indent | Word & Google Docs Instructions. Scribbr. Retrieved July 1, 2026, from https://www.scribbr.com/citing-sources/hanging-indent/